Space Assembly Animation
Template guide
The Space Assembly Animation template transforms a single product image into a satisfying, forward-moving assembly sequence. Instead of a static product shot, the creative shows a space building itself: floors, walls, furniture, textiles, and lighting appear in logical order, each element locking into place until the completed scene matches the reference composition. The effect works for interiors, outdoor settings, retail displays, and product staging environments where the visual payoff comes from watching structure emerge from an empty frame. This format is particularly useful for product commercials that need to hold attention in the first seconds. The assembly motion gives viewers a reason to keep watching, while the final locked frame provides a clean, composed hero shot. Because the template accepts a single product image as its primary input, it suits quick campaign iterations where you want to test different scene contexts or product placements without shooting new footage.
What this template creates
Scene-aware product placement
The template takes your product image and places it into a suitable environment using a generation step that favors premium real-estate photography aesthetics. The result is a reference frame where the product sits naturally within a designed space, giving the assembly sequence a clear visual target to build toward.
Piece-by-piece assembly motion
A dedicated prompt node describes a continuous, forward-only timelapse that progresses from a bare state to the completed scene. The instruction emphasizes deriving the object inventory, materials, lighting, and spatial relationships from the reference image, so the assembly feels grounded in the actual scene rather than generic.
Portrait-framed video output
The preview uses a tall 9:16 framing suited to mobile feeds and short-form placements. The vertical composition keeps the assembly motion centered and readable on phone screens, where the stacking of elements reads clearly as the space fills from bottom to top.
When to use this format
Furniture and home decor launches
A furniture brand can show a single armchair or table entering a room that assembles around it. The sequence gives the product a sense of belonging while demonstrating how it anchors the surrounding design.
Real estate and staging promos
Agents and staging companies can use the format to reveal a property's potential. An empty shell builds into a furnished, lit interior, making the transformation the story rather than a series of static listing photos.
Product-in-context social ads
For products that need environmental context—lighting, outdoor gear, kitchen tools—the assembly format places the item in a completed scene and then reveals how that scene comes together, creating a short, shareable visual loop.
What you’ll need
- Product ImageRequired
- Choose a clear image from Assets or upload your own.
How to use Space Assembly Animation
- 1
Inspect the existing nodes
Open the template in Canvas and review the four workflow steps: image asset, scene generation, prompt creation, and video generation. Understanding the chain helps you see where your input enters and where you can make changes.
- 2
Prepare your product image
Use the Product Image field to supply the image you want featured. Choose a clear shot with visible product details, since the scene generation step will build an environment around it and the assembly prompt will derive its object inventory from the result.
- 3
Direct the scene and assembly prompt
Adjust the scene generation prompt if you want a specific environment type, such as a living room, patio, or retail shelf. The assembly text node is editable, so you can refine the pacing or emphasize certain elements you want to appear earlier in the sequence.
- 4
Review and export the video
Check the generated preview for composition, object accuracy, and assembly flow. When the result matches your intent, save the project and export from the workspace. Generation availability and credit costs are shown in the interface.
Make the creative yours
Scene environment direction
The scene generation node includes a prompt field where you can specify the setting. Change the default premium real-estate direction to match your brand, such as a minimalist studio, a rustic cabin, or an outdoor terrace.
Assembly pacing and emphasis
The text prompt node is editable, so you can adjust how the sequence unfolds. You might ask for larger structural elements to appear first, or for the product to enter last as the focal point of the completed scene.
Product image replacement
Swap the product image in the input field to reuse the same workflow for different items. Each new image triggers a fresh scene generation and assembly prompt, letting you create variations without rebuilding the template.
Tips for your version
- Use a product image with a clean background so the scene generation step can place it convincingly without fighting existing clutter.
- Check the generated scene before running the video step—if the environment looks wrong, the assembly sequence will inherit those errors.
- Review the final frame against your product image to confirm the product's color and shape survived the assembly process.
Frequently asked questions
What kind of product image works best with this template?
A clear, well-lit product shot with minimal background noise gives the scene generation step the best material to work with. The template places the product into a new environment, so the cleaner the original, the more natural the placement will look.
Can I change the type of space that assembles around the product?
Yes. The scene generation node includes an editable prompt field. You can describe a different environment—office, bedroom, garden, showroom—and the workflow will build the assembly sequence around that new setting.
Does the video always show the exact same objects as my reference image?
The assembly prompt is written to derive the object inventory from the generated scene, but generation is not deterministic. Check the output to confirm that key elements from the reference appear and that no major objects were omitted or added.
How do I adjust how fast or slow the assembly feels?
The pacing is controlled through the editable prompt node, where you can describe the sequence order and emphasis. The video generation node also has duration settings visible in the workspace, so you can align the output length with your placement needs.
About the preview
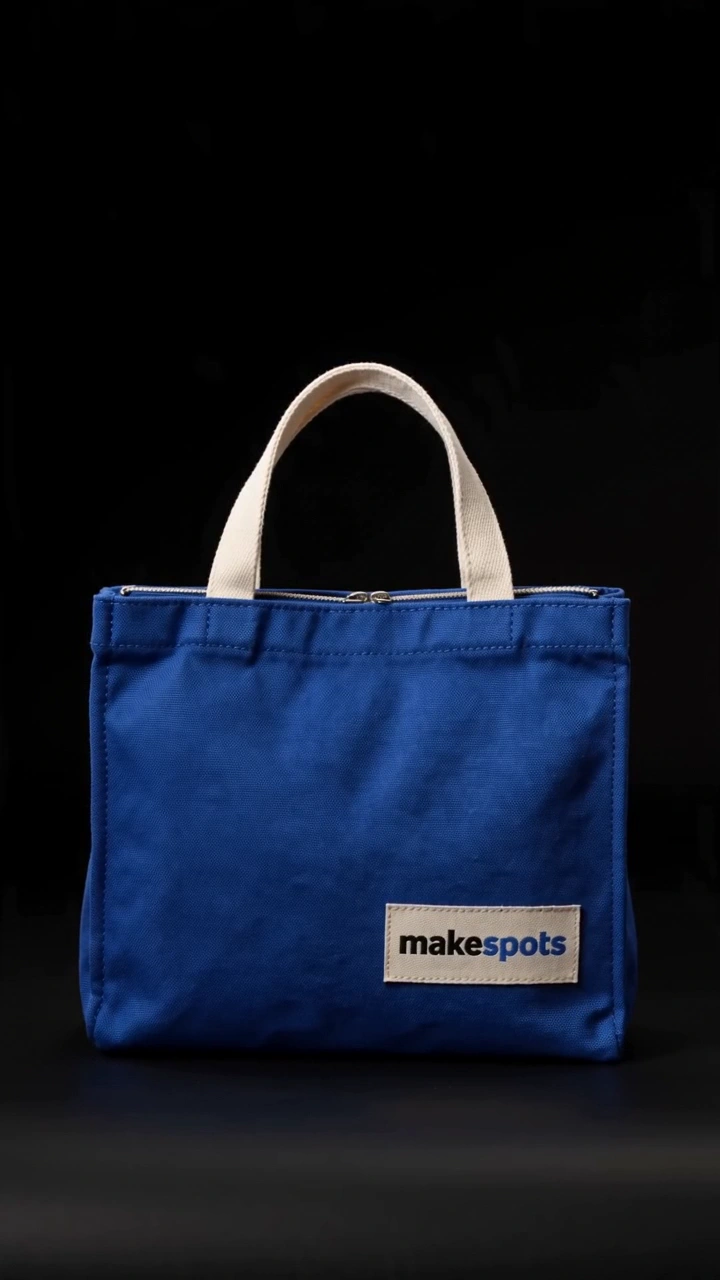
720 × 1280 px video example. This is the template preview; your generation settings determine the final output.
You can explore this template and its Canvas without an account. Sign in to save a project and upload your assets.