Product reference checklist
Your preparation checklist. Checks stay on this page only.
1. Keep the full object in view
Start with an image where the product is large enough to inspect and its important edges are visible. Avoid a reference that cuts off the cap, handle, label, or other identifying part. The output may change the setting, but the source still needs to explain the object.
A lifestyle image can be useful when context matters, but a small product surrounded by unrelated objects is harder to read. Choose the photo for the input’s job: identifying the product, rather than presenting an already finished campaign.
- The entire product is visible.
- The product has clear separation from its surroundings.
- The photo shows the version and color you want to use.
2. Check the details you need to preserve
Look closely at the shape, packaging, material, and any visible lettering. A blurry reference cannot provide detail it does not contain. If the product’s identity depends on a small logo or label, choose the clearest available photo and plan to inspect that area in the generated result.
Do not assume every word will stay exact after generation. Image and video outputs both need a review of lettering and geometry. The purpose of a better reference is to provide useful evidence, not a guarantee of perfect reproduction.
3. Match the angle to the idea
A front view helps show a package face. A three-quarter view can explain depth and shape. A model photo may be needed for a clothing movement template, while a logo animation needs the mark itself. Follow the template’s input label rather than using one photo for every job.
If you are comparing two creative directions, reuse the same source image where the inputs are compatible. Changing both the photo and the treatment makes it harder to understand what changed the result.
Bottle — front label view Bottle — three-quarter shape view
4. Name the reference before uploading
Use a display name you will recognize in the asset library and the template picker. Product, angle, and version are useful information; a camera-generated filename rarely explains the creative role of the file.
In makespots, confirm the asset name before the upload starts. Reuse the uploaded file for another compatible template instead of creating a fresh copy for every ad idea. Keep alternate angles distinct so you can choose deliberately.
Product name — angle — packaging version
5. Review the fit with the template
Open the chosen template and inspect its example, required fields, and workflow. A packaging concept may ask for a product name as well as an image; a logo reveal expects a logo. Make sure the reference you selected answers the request.
Use the checklist on this page before you generate. It is a preparation aid, not a file validator or a prediction of output quality. The upload surface performs its own file checks, and your workspace shows the available generation settings and credit quote.
- Correct product, angle, and packaging version.
- Sharp enough to inspect the important details.
- Inputs match the chosen template’s requirements.
- A plan to review the result before publishing.
Try the idea
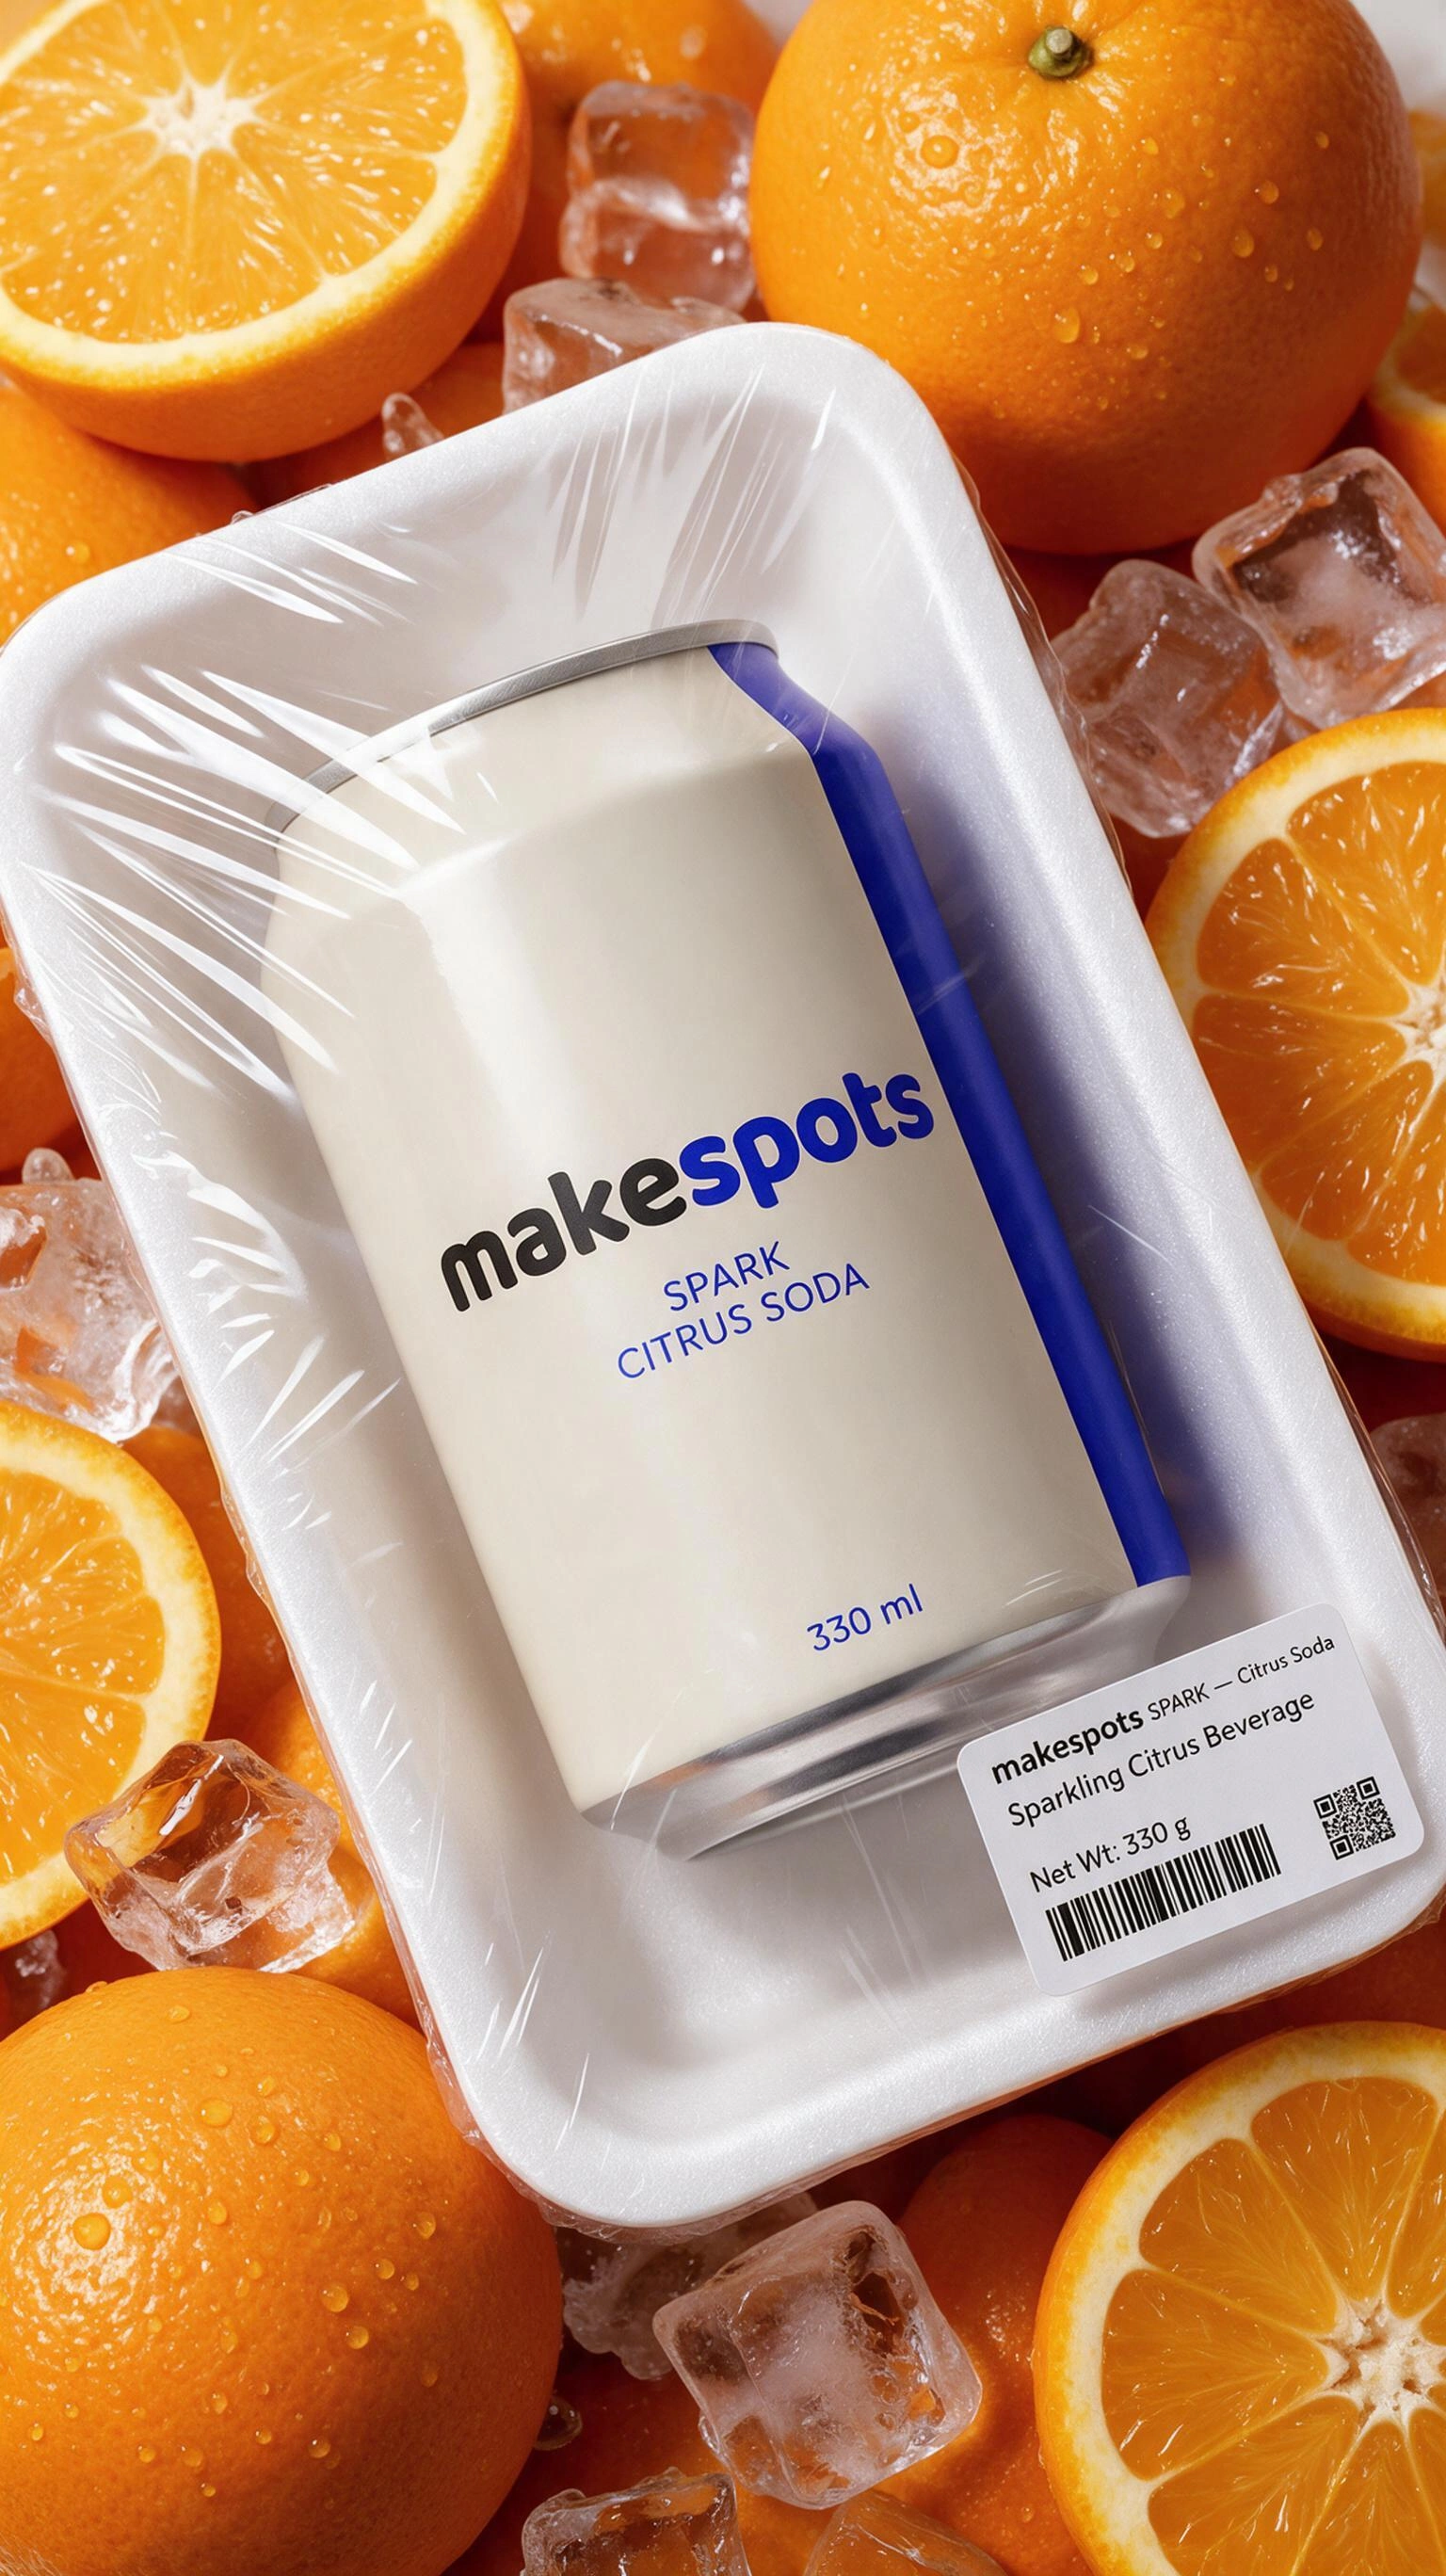
Plastic Wrapped Product
Open the template to see its required inputs and editable workflow. Review the available generation options and credit quote before you run it.
Open this templateRead the template guide